
Introduction
This page describes how to print photos. It’s best to do this procedure on a currently unused virtual desktop, as the screen is going to get a bit crowded.
Procedure
- Go to the start button, open a file manager and resize/position it so that it occupies the left half of the screen.
- Go to the start button, then to Multimedia and select Photo printer; the Gnome Photo Printer window appears. Resize/reposition it so that it occupies the right half of the screen, next to the file manager.
- In the Gnome Photo Printer window, go to the the ‘Layout’ tab and set the size of the photos you want, as show in the the following picture:

- In the Gnome Photo Printer window, go to the the ‘Paper’ tab and adjust the size of the margins; 0.5cm should be sufficient.
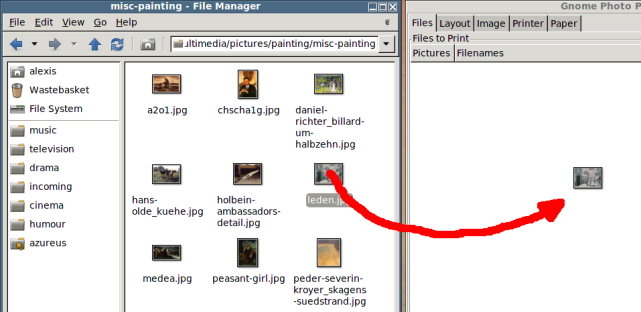
- In the Gnome Photo Printer window, go to the the ‘Files’ tab.
- In the file manager window, navigate to the directory containing your photos are.
- Drag the photos into the Gnome Photo Printer window, as shown in the following picture:
- Repeat the previous step for all the photos you want to print.
- Click the ‘Preview’ button to see a preview, but if you decide the layout is acceptable and want to print it, don’t use the preview window’s print button. When you have finished with the preview window, close it.
- Click the ‘Print’ button to print the photos.